Eventhough skins manager is pretty easy to use,this guide is for those who are new to skinning their phone.
- Download skinmanager from HERE
- Install p2k drivers and connect your phone (See guide on connecting your phone properly)
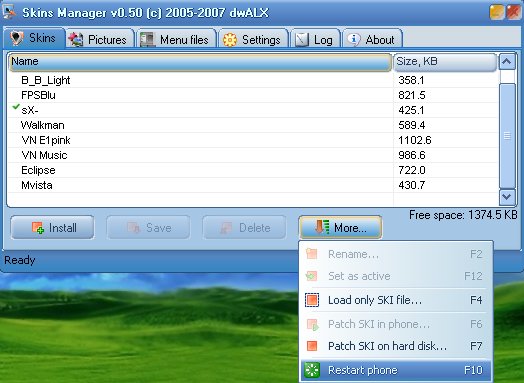
- Open skinmanager. Wait until all the skins are shown up in the skinmanger.
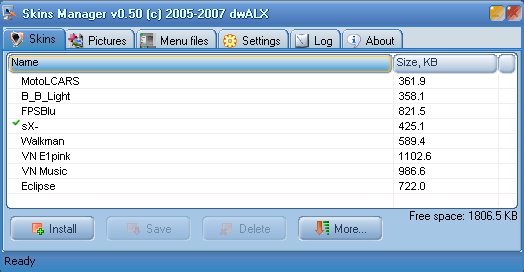
- You may delete a skin if you need more free space. But NEVER delete the active skin (shown as "checked" in skinmanager)
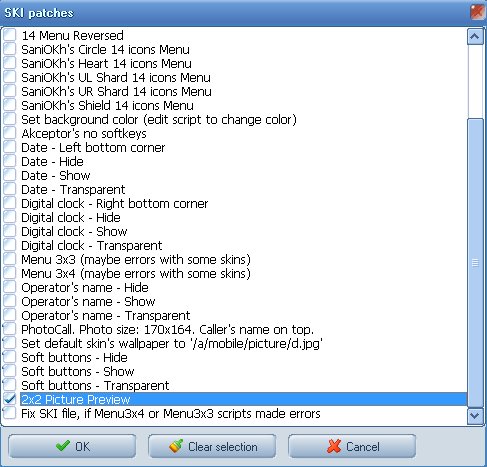
- Press "Install" button.You could see a window as shown below.It contains a lot of skin patches you can make. You may uncheck all the patches or check one or two according to your choice.Press OK.
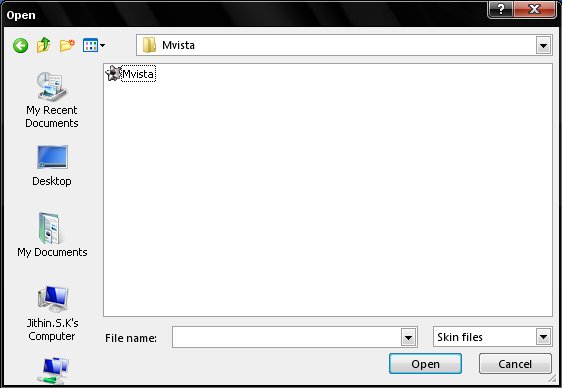
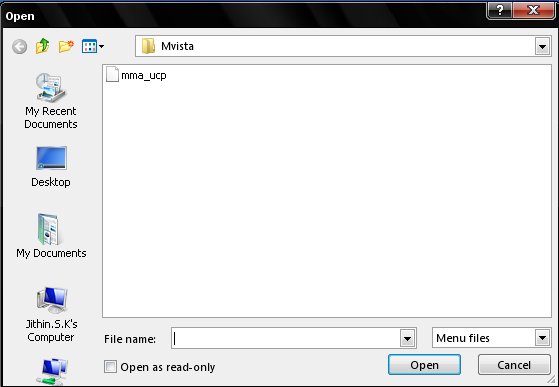
- Browse for the *.ski file you want to install
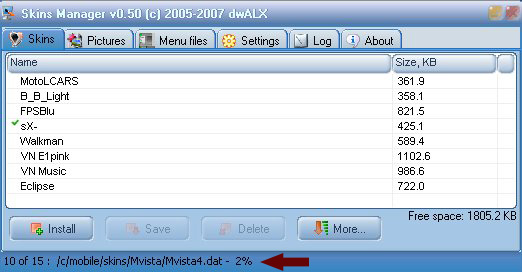
- Wait until the operation is complete
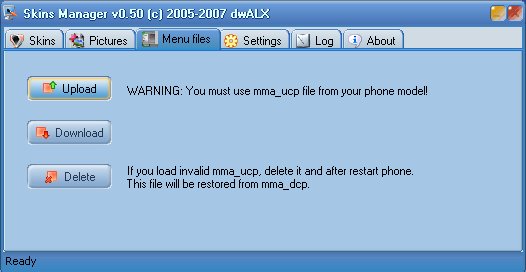
- If the skin comes with custom mma_ucp,you can upload it by clicking the "menu files" tab and then uploading the mma_ucp. Make sure that the mma_ucp is made for YOUR PHONE MODEL.This is very important.
- After completing all the above steps,press "More" button and then Restart your phone(or F10 as shortcut)
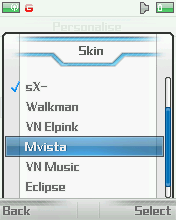
- Done! Now goto personalise menu from your phone,select skins and your skin will be present there.. :)
|
